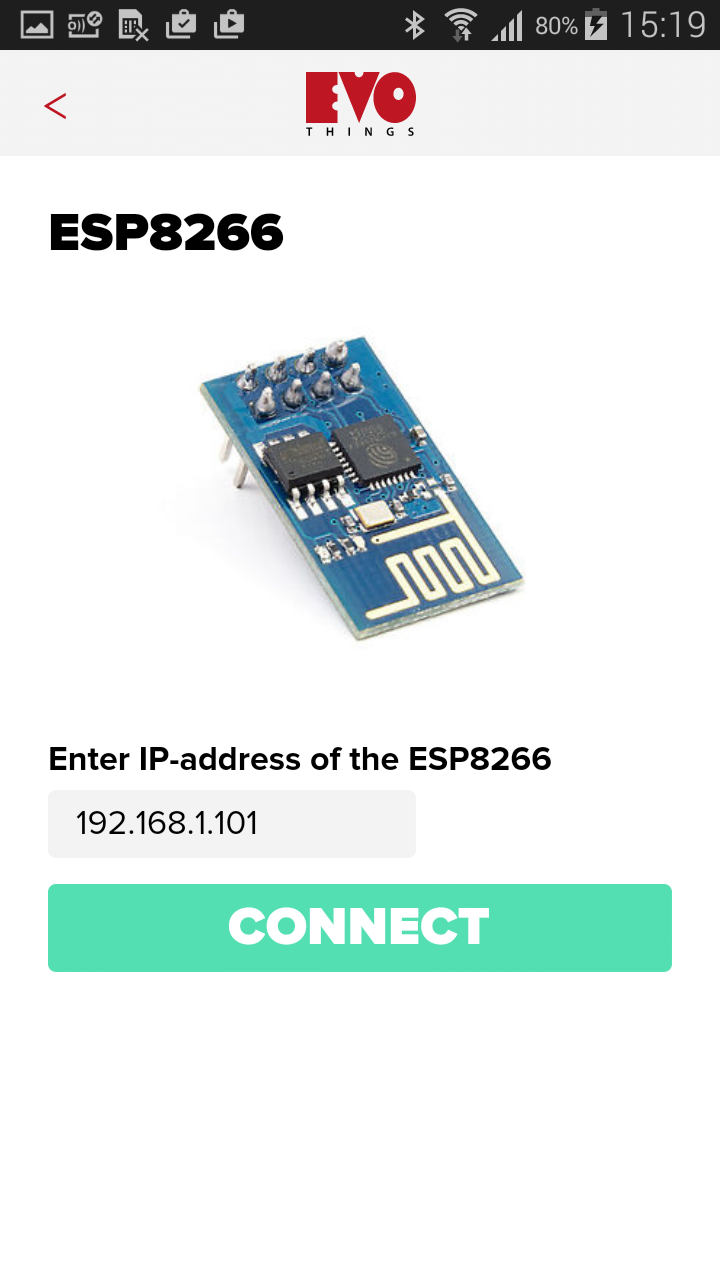
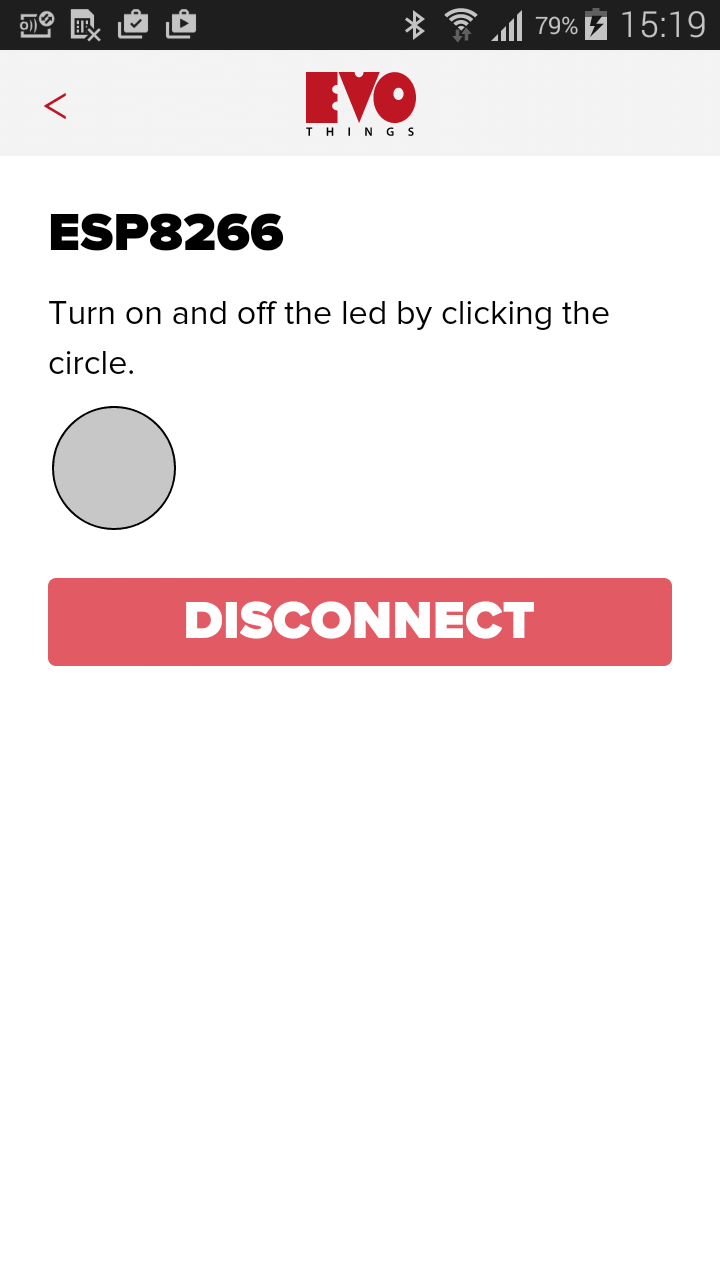
ESP8266
This example shows you how to build an application that lets you control a led connected to a ESP8266 module.
Source code
You can browse the source code for this example at the Evothings GitHub repository
The file index.html contains the HTML markup of the app and the buisness logic is placed in the app.js
The source code for the module can be found here.
What you need
It still is a bit of a challenge to get the module up and running. We suggest that you join the community on www.esp8266.com to learn more about the available modules.
This example runs in Evothings Viewer on Android or iOS.
- 1 x ESP-01 (or any other compatible module)
- 1 x USB - Serial cable (3.3 volt)
- 1 x Power supply (3.3 volt)
- 1 x LED
- 1 x 1 kOhm resistor
- An iOS or Android smartphone
How to get up and running
Follow these steps to get started with this example:
- Install the latest version of the Arduino IDE.
- Start Arduino and open Perferences window.
- Enter http://arduino.esp8266.com/package_esp8266com_index.json into Additional Board Manager URLs field.
- Open Boards Manager from Tools > Board menu and install esp8266 platform (and don't forget to select your ESP8266 board from Tools > Board menu after installation).
- Connect your module to your computer. (This step is a bit tricky and it seems like there are a lot of different suggenstion on which circuit to use, we used the circuit found here)
- Connect a led and 1 kOhm resistor in series with GPIO2
- Compile and upload the esp8266.ino sketch (Dont forget to add your WiFi credentials to the sketch).
- Open a serial monitor and note the displayed IP address.
- Run Evothings Workbench on your computer.
- Connect to the Workbench from Evothings Viewer.
- Run the "ESP8266" example from the Workbench window.
- Connect to your development board using the IP address noted in previous step.